10 COMMANDS TO TEACH YOUR ADVENTURE DOG (THAT YOU MAY HAVE NEVER HEARD OF)
Adventure dogs need to be adaptable. They may find themselves in all sorts of situations – from camping out in remote wilderness to navigating busy hiking trails to wandering along city sidewalks while you’re on a supply run.
To enable them to cope with this, training is so important. Having that foundation and bond will mean they look to you for direction when they are unsure of how to handle a situation that they aren’t familiar with. It will keep them safer, give them confidence, and make every experience more enjoyable for both them and you.
This post may include affiliate links. As an Amazon Associate I earn from qualifying purchases. Find more info in my privacy policy.
Obedience basics are where you should start with any dog – whether of the adventurer or couch potato variety. Sit, down, stay, come, heel, leash manners, and greetings are fundamental. But beyond that, adventure pups will benefit from learning additional commands — some of which you may not have considered teaching before.
Below, you’ll find a list of 10 commands to teach your dog that I’ve found helpful for everything from road trips to multi-day backcountry adventures.
LOOK
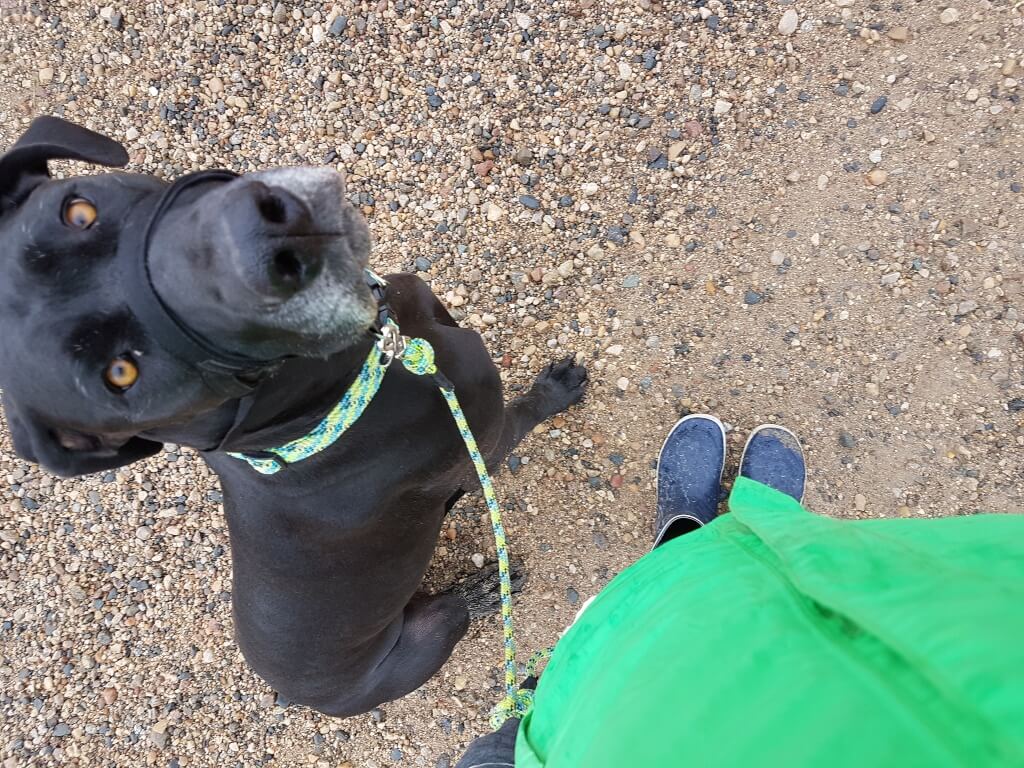
‘Look’ is simply getting your dog to give you their full attention by looking directly at you. Knowing this command can help cut through the myriad of distractions that your dog will find when exploring. There will be new sights, sounds, and smells to compete with whenever you’re out and about, and it can be challenging to make yourself more interesting than all of that newness. But, once you’ve got your dog’s full attention, they are much more likely to listen to your next command or direction. ‘Look’ is the gateway.
HOW TO TEACH IT: Start by doling out praise/rewards when your dog makes eye contact, just in general daily situations around home. Start to associate the word “look” with that action. Once they’ve got that, begin to increase the difficulty by giving the command while there are more distractions (while out in the yard, on a walk, etc.) until you can get their attention on you no matter what is going on around them.
Keep in mind that, just like humans, dogs consider staring rude and intimidating and don’t generally enjoy it. Don’t turn ‘look’ into a staring contest by requiring them to make intense, prolonged eye contact with you. A couple of seconds is all you need to know they are putting their attention on you. Start to pair the look command with a follow-up command to reinforce the idea that they should expect further direction once they look at you.
WHEN TO USE IT:
When you spot a weakness of theirs (wildlife, other dogs, etc.) before they do, and you want to get their attention on you before they notice.
When they are distracted, overstimulated, or excited about something and you need to break their focus.
To create a stronger bond with a dog that tends to get distracted easily or doesn’t automatically look to you for direction.
ME FIRST, YOU FIRST
‘Me first, you first’ will teach your dog what order you’d like to go in when facing obstacles such as a narrow trail or doorway. In general, you’ll want to teach your dog to let you go first out of respect. However, there will be times on adventures when it may be safer or more efficient to get your dog out in front of you. In these cases, it will be helpful to have a command that lets them know what you’d like to happen.
HOW TO TEACH IT: The easiest way to teach this is to seek out a narrow opening through which you can only pass a single file (a small doorway, a tight squeeze between parked vehicles, etc.). Approach the opening and stop. If you’re going first, shorten up the leash and step in front of your dog, forcing them to follow behind. Associate the ‘me first’ command with this action.
When you want your dog to go first, provide slack on the leash and allow them to move ahead of you. Associate the ‘you first’ command with this. You can also use “go ahead” or any other command phrase you choose. Once they have this down, providing your command should make them drop in front of or behind you as needed.
WHEN TO USE IT:
Use ‘me first’ when it’s safest for you to go ahead of your dog on a trail, through a narrow opening, through a doorway, etc.
Use ‘you first’ when you’d like to get your dog ahead of you. Some examples might be on a steep, narrow, scramble-worthy section of trail where having them behind you and out of sight might be dangerous, or when circumstances make it more practical or safer for them to pass through a doorway or opening first.
UP
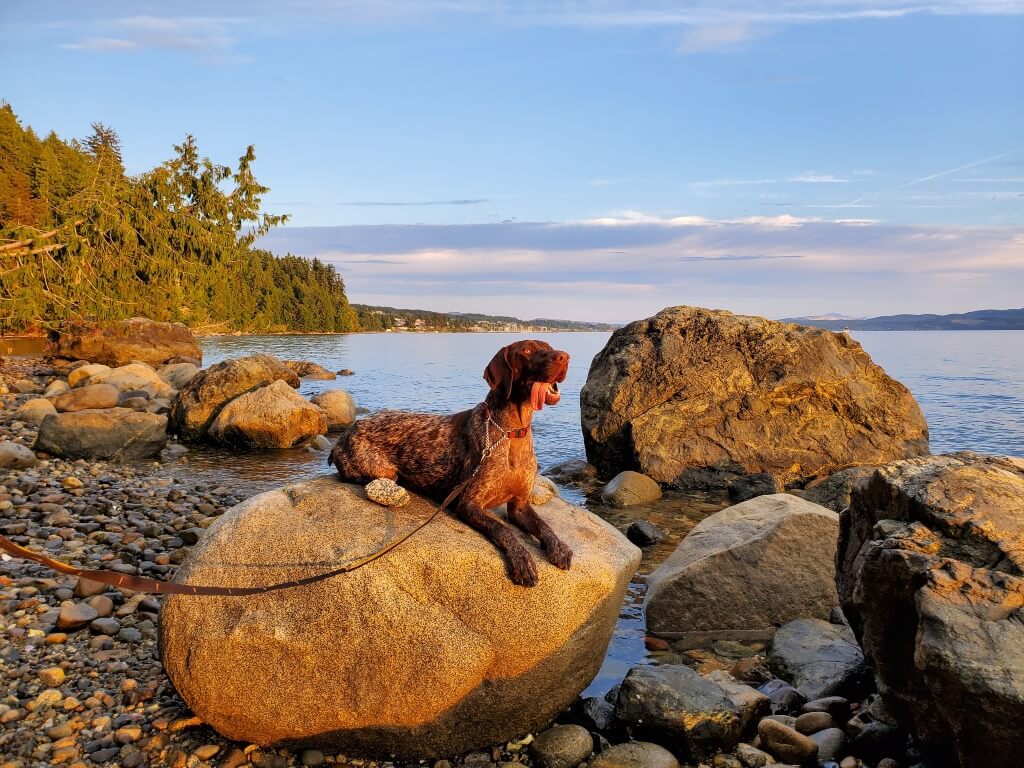
‘Up’ is straightforward. It simply means getting your dog to jump onto something. This one is important to teach as some dogs lack the confidence to “make the leap” without a bit of practice. This will increase their ability to navigate obstacles and can be a fun exercise that makes walks and training sessions a little more interesting. It also builds trust between dog and handler as they learn that they are capable of what you are asking from them.
HOW TO TEACH IT: Start with obstacles/platforms that are relatively low to the ground, stable, and have a wide enough surface that they can easily get on it without having to perch or balance. Encourage them to get on the obstacle by patting with your hand and using very gentle pressure on the leash to coax them. If they are reluctant, you may have to back up and take a bit of a run at it so they can use their momentum to help get over their hesitation. Praise/reward once they are up.
As they get comfortable, increase the difficulty by getting them up onto higher, uneven, wobbly, and narrow surfaces. Use your release word when allowing them to get down to teach them that they are expected to stay on the obstacle/platform until they are released. If you’re worried about their joints when jumping down off the obstacle, add some support with your hand on their chest to cushion them.
WHEN TO USE IT:
When loading into vehicles.
For navigating trail obstacles like boulders and fallen trees.
During roadside pit stops, when you want to provide mental stimulation and wear out their brain (make obstacles out of park benches, playground equipment, large rocks, etc.)
For getting them up onto a raised surface (table, truck bed, etc.) to do a post-adventure tailgate check.
GO PEE
Teaching your dog to pee on command might seem silly, but it’s more useful than you’d think. Adventure dogs tend to spend a lot of time in vehicles, and the pre-load-up checklist gets a whole lot more efficient if you’re not having to stand around for 20 minutes waiting for Fido to do his business. It’s also a great way to remind a dog what they are out there to do when they get distracted by the new smells and surroundings of an unfamiliar place.
HOW TO TEACH IT: This one is just a matter of attaching the command “go pee” (or whatever phrase or term you choose) to the action. If you’re housetraining a new puppy, pair the command and lots of praise with when they go. As a bonus, this can speed up the housebreaking process! For older, already trained dogs, you’ll just have to start pairing the command with the action until they associate the two.
In practice, always allow extra time for them to poop if they need to. I find that if I give the ‘go pee’ command, they often do both in quick succession, if needed. It seems to get them focused on what their “job” is.
WHEN TO USE IT:
Before loading up into the vehicle for a long drive.
To remind your dog of what they need to do on quick pit stops during road trips.
During “last chance” late-night outings before settling in (to a tent or hotel room) for the night.
WAIT
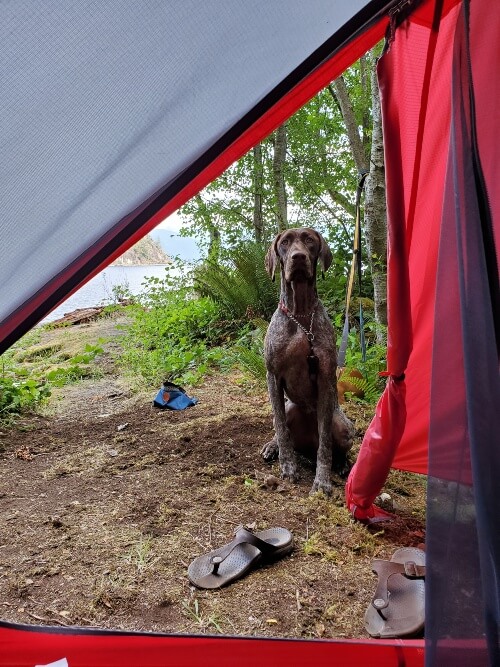
‘Wait’ is your dog’s signal that they need to chill until you tell them otherwise. It may seem too similar to ‘stay’ to bother teaching it, but it is actually quite different. For stay, you’re expecting your dog to remain in exactly the state you left them in, whether that’s a down or a sit until you release them. For wait, they can sniff around, change positions, and even wander a bit in some cases – which you wouldn’t want them doing in a full stay. Your expectation for a wait should be for them to calmly hang out in a general area, whether they’re tethered or off-leash.
HOW TO TEACH IT: Your main goal when teaching wait should be giving your dog patience and confidence. Start with your dog on a leash. Tether them to a lamppost, tree, park bench, etc. Say “wait,” walk 10-20 feet away from your dog and stand quietly. If they are agitated (lunging, barking, whining, etc.), wait until they calm down. Once they are calm, start walking back toward them. If they get excited again, stop and back up a bit. Repeat this until you can approach them without getting a reaction out of them.
Once you’re able to return to your dog with them remaining calm, simply untether them and continue on with your walk or training session. A light pat on the head or quiet “good dog” is ok, but avoid exuberant praise as you’re looking to reinforce the chill vibe associated with the exercise. Level up by moving further and further away and eventually going out of sight while they are in their wait.
To teach ‘wait’ in a vehicle, have your dog get into the car and shut the door. When they are calm, begin to open the door slowly and only slightly. If they make a move to exit the vehicle before you release them, quickly swing the door closed again (watching you don’t pinch toes or tails!). Continue to “flutter” the door open and closed until the dog remains in the car even with the door fully open. Use your release word to let them exit the vehicle.
WHEN TO USE IT:
When you need them to wait patiently while you load your pack, set up camp, prep your canoe, etc., etc.
To keep them from bolting when you open a vehicle door.
When leaving them unattended (for example: tethered outside a store that doesn’t allow dogs or in a hotel room while you run errands).
To improve confidence in dogs with separation anxiety.
FIX IT
Teaching your dog to ‘fix it’ provides a quick, easy, hands-free way to untangle a leash. All dog owners are undoubtedly familiar with the scenario in which the leash somehow makes its way between your dog’s feet, tripping them up and making it difficult for them to walk correctly. This often involves playing a game of “weave the dog legs” to get it sorted, only to have it happen again moments later. For those who use waistbelt leashes, this becomes even more of a pain to deal with. Fix it allows you to use your foot (and your dog’s cooperation) to get them untangled without undoing your waistbelt, bending over, or having to drop your leash.
HOW TO TEACH IT: Have your dog on a leash. Provide enough slack that the leash slips between their legs while they are walking. Stop moving. Use your foot closest to your dog to push the leash forward and upward against the back of your dog’s leg until they feel enough pressure that they lift their foot. Associate the “fix it” command to this movement. Continue moving the leash forward until it is in front of their leg and the dog places their foot back on the ground. Once they have this down, they will automatically lift their foot when given the command, allowing you to easily slip the leash free with your foot.
WHEN TO USE IT:
Any time the leash gets tangled in your dog’s feet (but is especially useful during hikes when your hands are full and/or you have them attached to your waist).
LEAVE IT
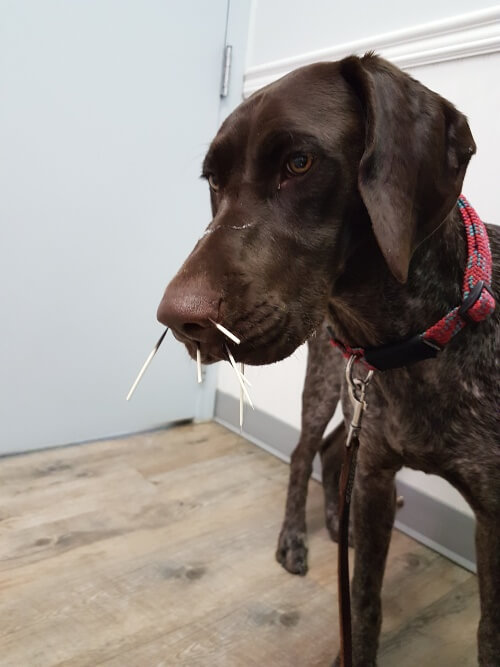
You’ll come across all kinds of stuff on (and off!) the trail, and dogs have an uncanny ability to sniff out all the things they really shouldn’t be getting into or going after. This could be anything from dangerous plants to wildlife to trash to other trail users and their dogs. On the really nasty end of the scale, you might find things like dead stinking animals (why or why do dogs love to rub themselves in rotting carcass smell?), used toilet paper (yuck!), and even piles of excrement (not always left by the wildlife, if you know what I’m saying… *shudder*). ‘Leave it’ is your ticket to getting your dog to shift their focus from these off-limits aspects of adventuring.
HOW TO TEACH IT: At home, start with a high-value reward like a really stinky treat. Place it on the floor in front of your dog and cover it with your hand. Tell them to leave it. Once they have lost interest or backed off sniffing, reward them with praise or another high-value treat (not the one you asked them to leave). Level up by moving your hand off the treat to the point where you can leave it exposed, and your dog doesn’t go for it.
While out and about on leash, associate the ‘leave it’ command with any situation where you move past an interesting item/person/dog/etc. without stopping to let them check it out.
WHEN TO USE IT:
When your dog finds something you don’t want them getting into.
When meeting other hikers and/or dogs that need space and would prefer not to meet your dog.
To keep your dog out of your trailside snacks.
DROP IT
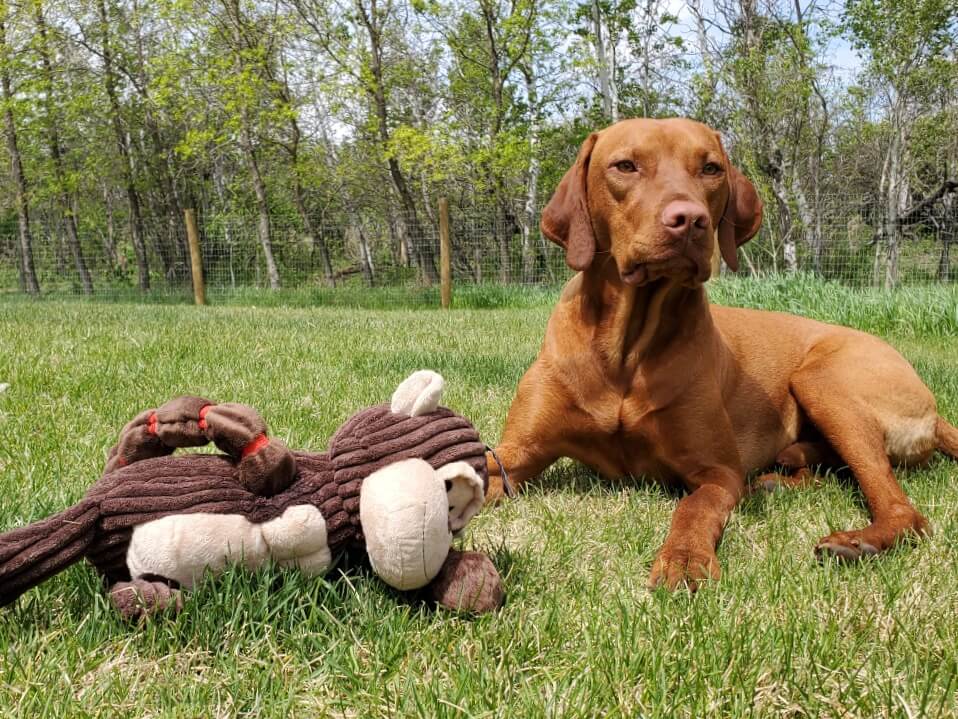
For those times where you didn’t notice them going for something you don’t want them to have. Or those times when your best efforts at ‘leave it’ failed. Puppies are especially notorious for putting anything and everything in their mouths, but even adult dogs will likely get a hold of the odd item you’d rather they just leave alone. A strong ‘drop it’ will ensure you can get things away from them before they destroy and/or eat it.
HOW TO TEACH IT: There are a couple of different ways to teach ‘drop it.’ Some prefer to “trade” the item they have for something of a higher value, like a treat or their favourite toy. This method works well but can backfire if they figure it out and decide not to do it for you unless you’ve got that high-value reward on hand at all times.
Another option is to make it an integral part of playtime and fetch sessions. While playing, associate ‘drop it’ with any time they release the toy. Continue playing and give the toy back to them. Returning the toy is essential, as this is their reward. If they start to associate ‘drop it’ with meaning “if I give this up, I’ll never see it again,” they’ll be less likely to comply. If they are reluctant to give it up, hold the toy as close as you can to them on either side of their mouth and move the toy toward your leg. They’ll give it up when they realize it’s no longer a game of tug.
This one can take a lot of time and patience to nail down. I think the most important factor, no matter your method, is staying calm. If you get excited, start yelling, and chase your dog, you make a game out of it – and they are always happy to play games. Set them up for success as often as you can.
WHEN TO USE IT:
Any time your dog gets a hold of something you don’t want them to have (i.e. any of the nasties I mentioned under the leave it section).
BACK UP/LOOK OUT
Teaching a ‘back up’ or ‘look out’ command will come in handy any time your dog is in your way and needs to move. It reduces tripping hazards for you and can help prevent pinched tails and stepped-on paws. It can come in especially handy when living in close quarters such as a tent or when road tripping in a cramped van.
HOW TO TEACH IT: With your dog on leash and close to you, gently step “into” them, using your physical presence to put pressure on them to move out of the way. Praise/reward when they move. Associate your chosen command (look out, back up, etc.) with their movement.
Level up by increasing the space between you when you give the command and move toward your dog. Eventually, they should associate the command with simply moving out of the way and will do it even if you don’t move toward them.
WHEN TO USE IT:
When you need to move your dog off the trail to let others pass you.
When your dog is in your way and you need them to make space (for example, standing where they might get hit with an expanding tent pole while you’re setting up camp).
When they are getting dangerously close to things like a firepit or a hot camp stove.
When you need them to move back so you can close a door (either in a vehicle or a building).
STAY CLOSE
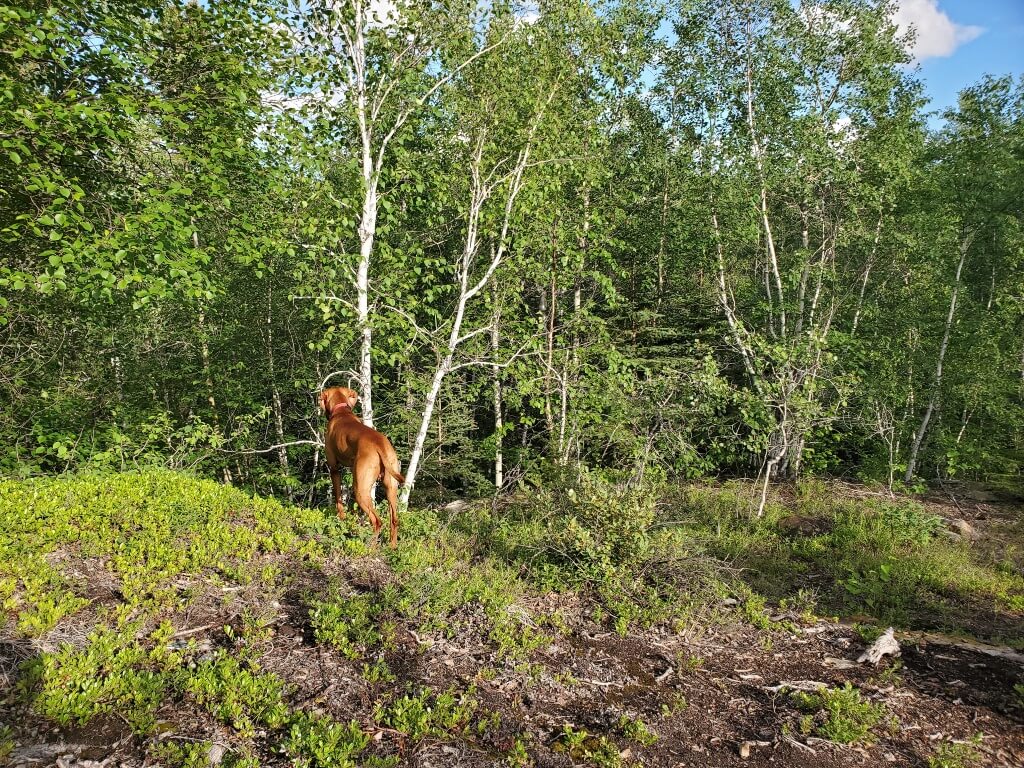
‘Stay close’ asks your dog to stay within a reasonable distance from you and/or within eyesight. Once you’re at the point where you’d like to let your dog off-leash, ‘stay close’ can help keep them under better control. A strong recall and ‘heel’ will get them back to your side, but for those times you’d like to give them a bit more freedom to explore, ‘stay close’ can provide that.
HOW TO TEACH IT: With your dog on a 30-foot long line, allow them to wander from your side. Once they’ve reached a distance you are comfortable with, associate the command ‘stay close’ with this and reinforce with a gentle tug on the long line. Any time they wander past that distance, bring them back using the long line. Eventually, they will associate the ‘stay close’ command with being within a certain radius of you, give or take. Reward/praise any time they check-in and regulate their distance from you on their own.
WHEN TO USE IT:
Any time you’re letting them off-leash but want to keep them close by.
When you’re in thick bush and don’t want them to get out of eyesight.
When you’re busy setting up camp, loading a vehicle, etc. but deem it safe for them to wander a bit without going too far.
A DISCLAIMER ON DOG TRAINING ADVICE
I am the first to admit that I am by no means a dog training expert. The advice and tips I share are purely from personal experience and are things I have learned over the years through trial and error. Much of what I have learned has been thanks to knowledgeable trainers, spending many hours working through group classes at their direction, and then making that work for my dog. If you are able to utilize the services of a dog trainer you click with, I highly encourage you to do so.
I also want to make it clear that sharing my experiences and what has worked for us should in no way lead you to believe that I have it all figured out or that my dogs are fully trained perfect angels 100% of the time. Getting a ‘look’ out of Izzie is still like pulling teeth, and she’s almost three. My dogs and I constantly make mistakes, and we are always learning and working to improve. Training is a long and sometimes painful process that truly doesn’t have an endpoint. What works for one dog won’t necessarily work for others. Don’t expect perfection from yourself or your dog. Try new things, keep going, and have fun with it.
READ MORE: WHAT TO CONSIDER WHEN LOOKING FOR AN ADVENTURE DOG
